在 Furshell 毛发制作中,流向图的绘制是重中之重,而传统流程Mari和Substance Painter中接缝、绘制不直观一直是让美术头痛的问题。
我们在 Houdini 中开发了一套简单的流向图绘制流程,解决了接缝和绘制不直观的问题。

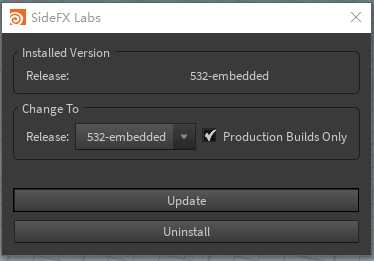
Firstly, make sure you have a newer version of SideFX Labs Toolset installed in your Shelves tabs. (Warning: Versions of this plugin lower than 532 may cause errors.) In this paper, I will use the 532 version of SideFX Labs embeded in Houdini FX 18.0.532 for demo.
首先,确保自己的Shelves中安装了较新版本的SideFX Labs Toolset(注意:低于532版本的该插件可能会导致错误),我这里使用的是Houdini FX 18.0.532中嵌入的532版本SideFX Labs:

Click “File/Import/Geometry“ to import the model for which you want to paint a flowmap. (One thing to note here is that even the FBX format models need to be imported through the “Geometry“ option instead of the “Filmbox FBX“ option, otherwise you will get unexplained errors later.)
点击File/Import/Geometry导入需要绘制Flowmap的模型(这里有一点需要注意的是,即使是FBX格式的模型,也需要通过Geometry选项导入,否则后续会出现不明原因错误)

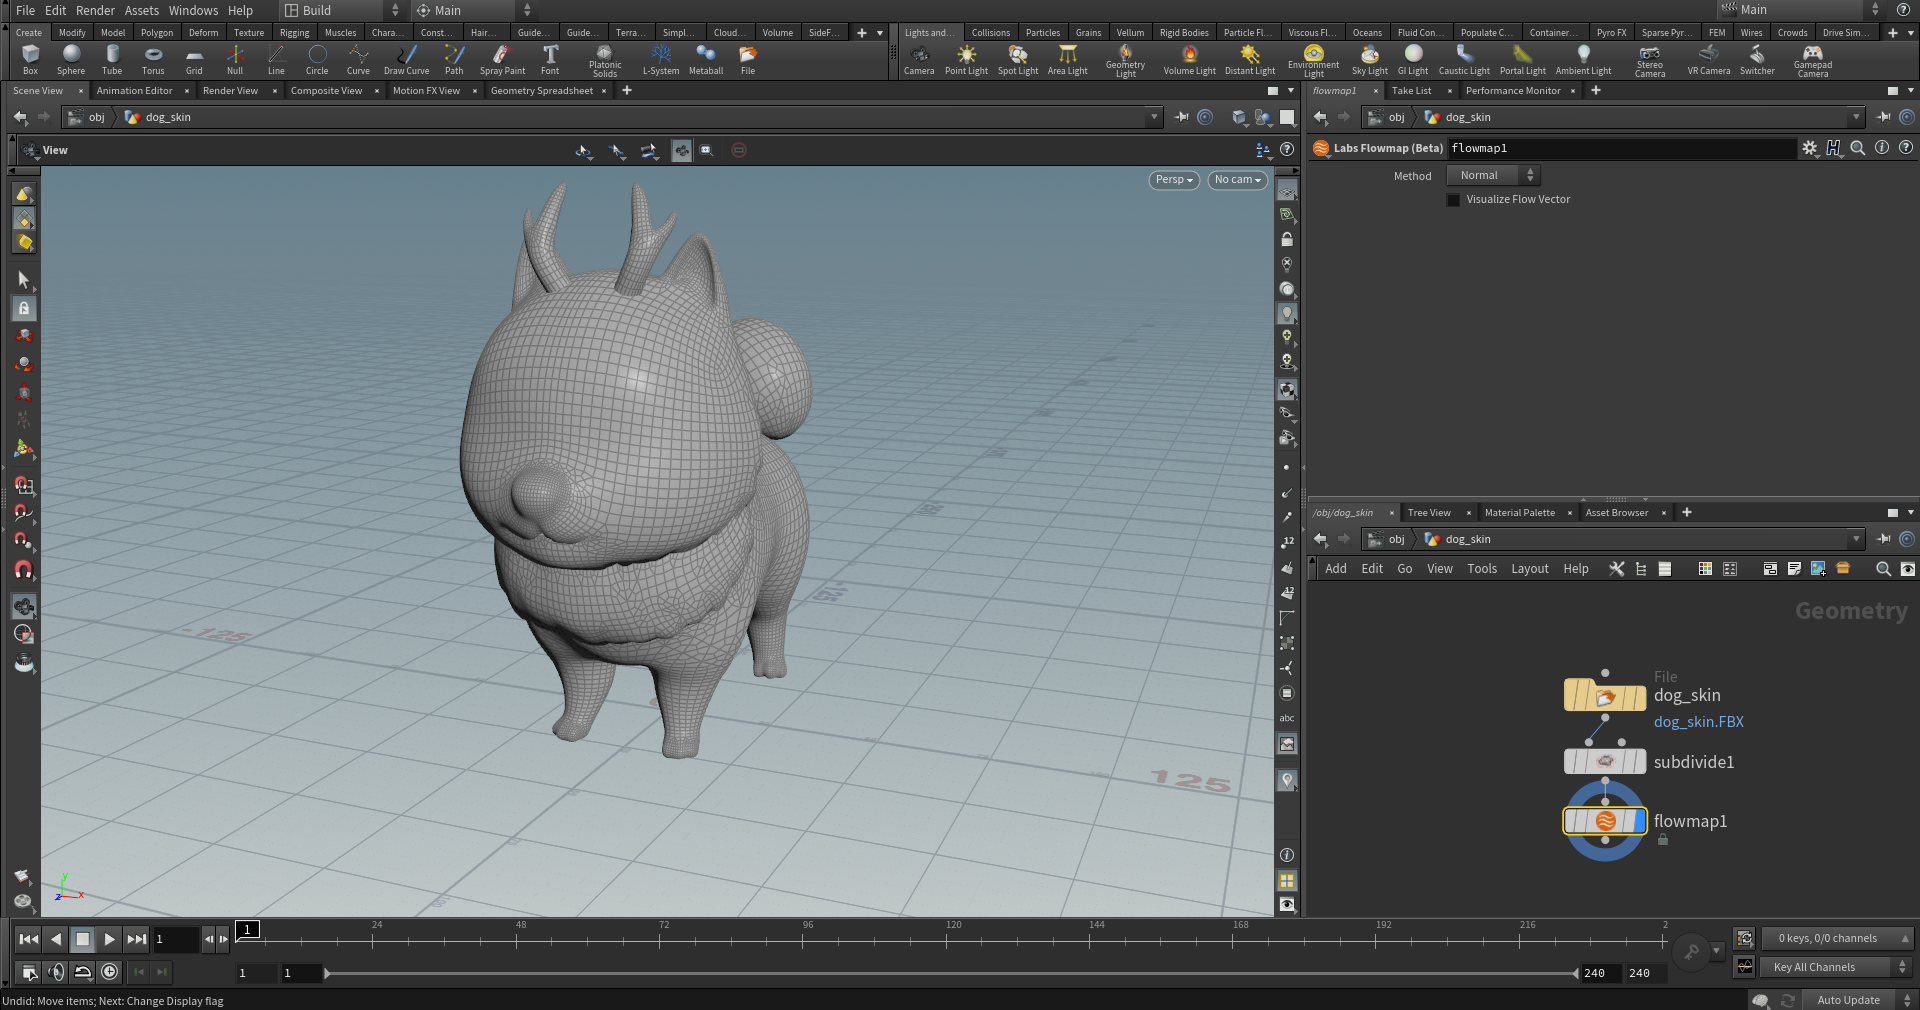
The result after import is as follows:
导入后效果如下:

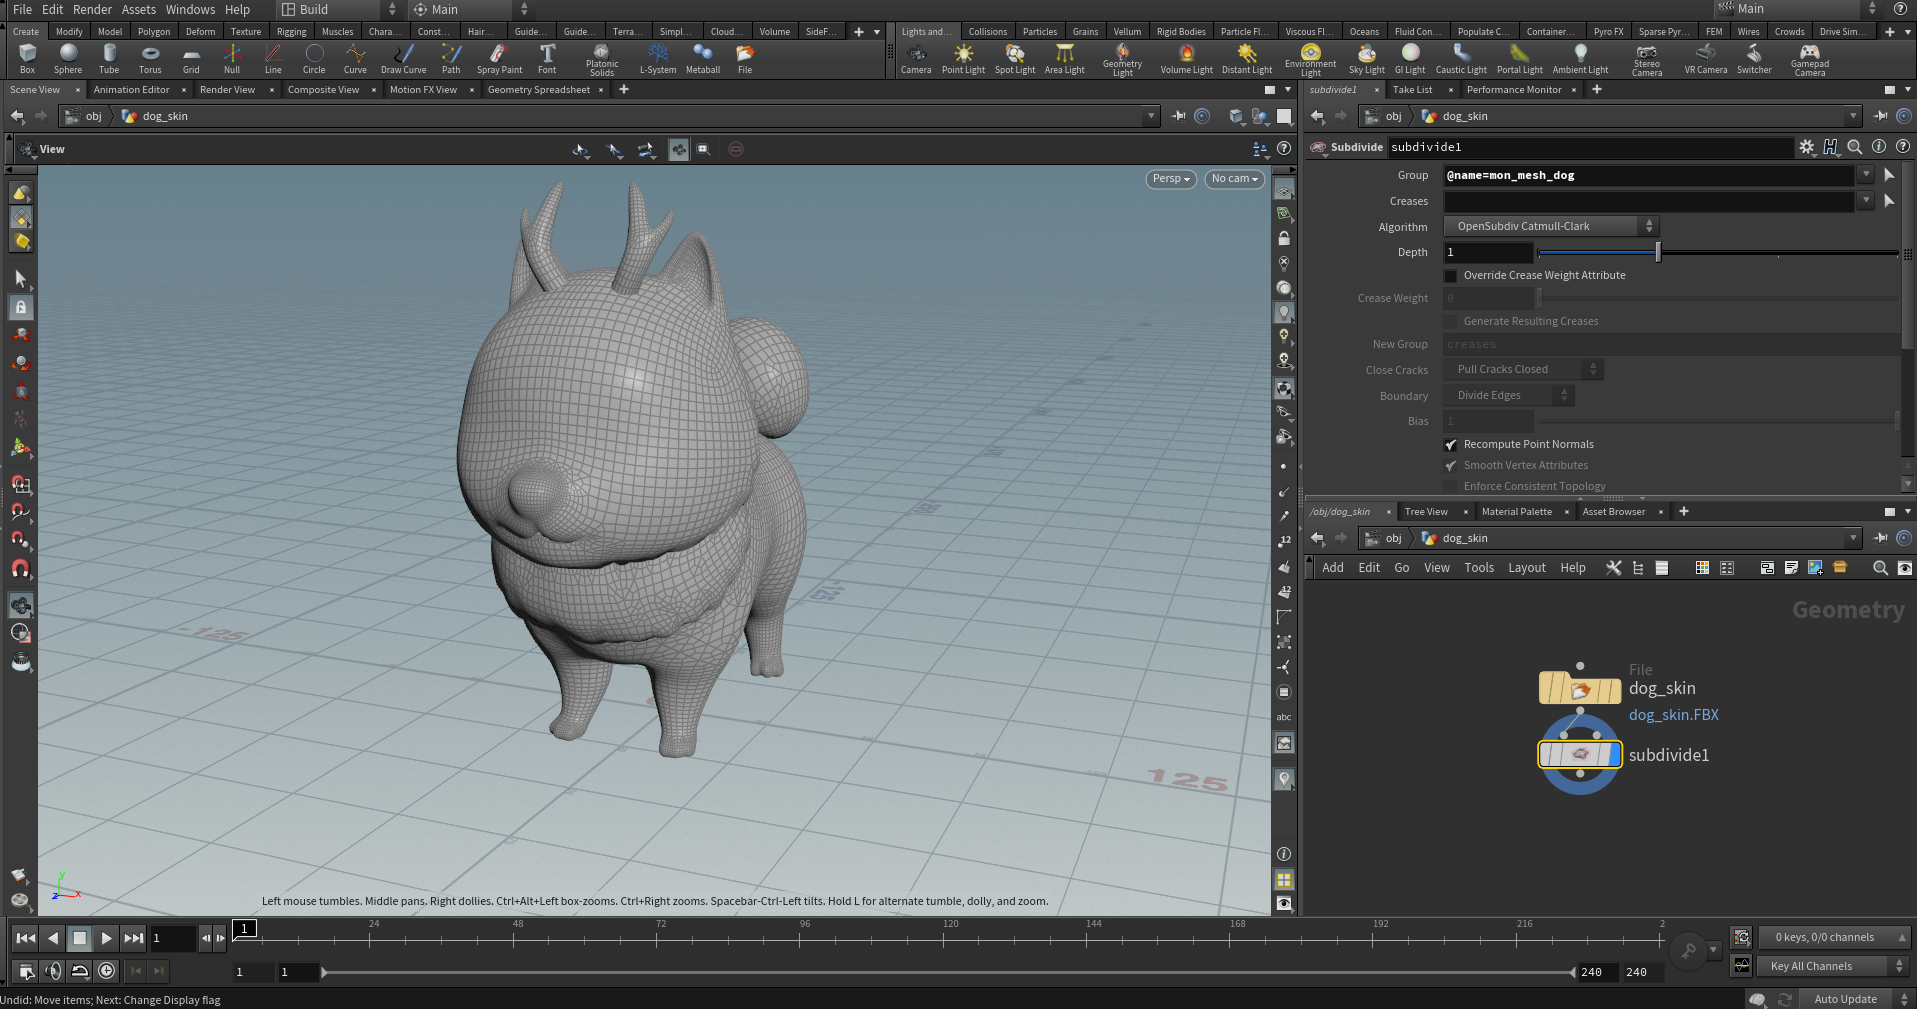
Next, Double click on Geometry to make changes.
Since the flowmap brush can only paint directions at the vertex level, if the number of faces in the model is low, you need to add a subdivide node for tessellation.
下面双击进入Geometry进行修改。
由于Flowmap brush只能在顶点级别刷方向,所以如果模型面数较低,需要临时加一个subdivide node进行细分。
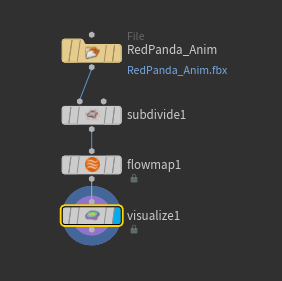
Link the flowmap node and just use the default settings. (You don’t need to check the “visualize” checkbox, because we’ll visualize it ourselves later.)
连接flowmap node,采用默认设置即可。(不需要勾选Visualize,我们之后会自行Visualize)
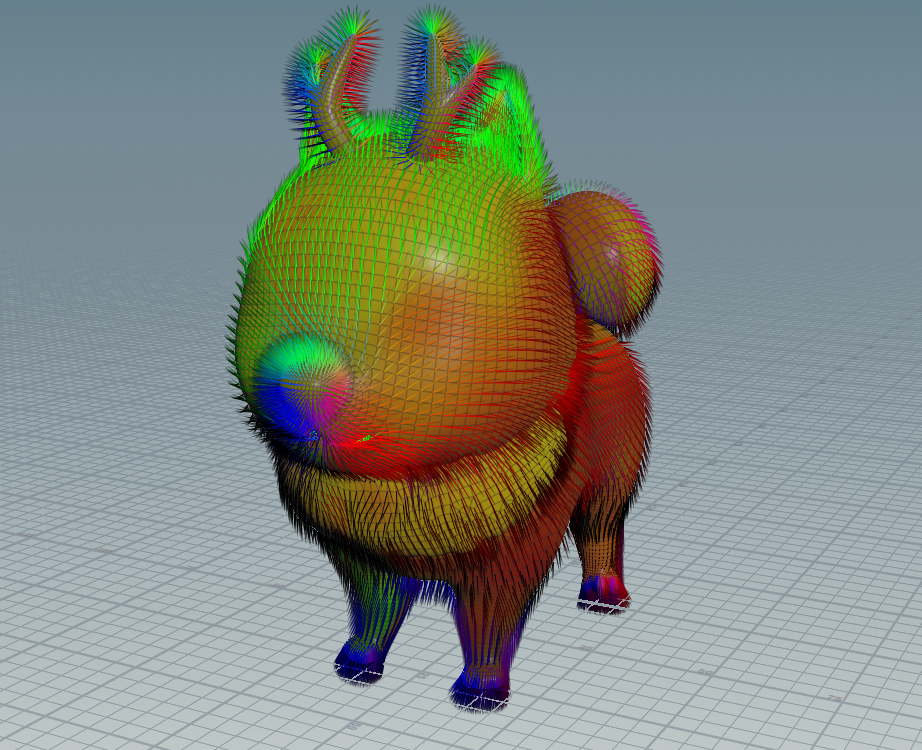
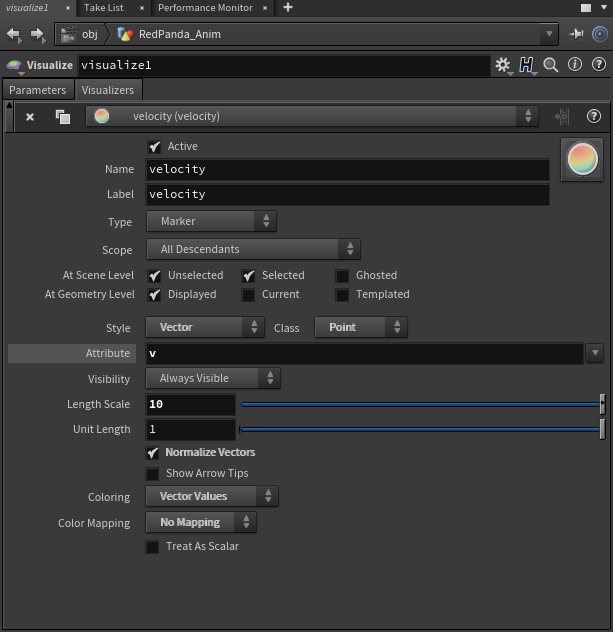
Link a visualize node to visualize the direction vector. You can set it as shown below, where the “Length Scale“ determines the length of the auxiliary vector, which can be set as longer as you like.
连接visualize node进行可视化,按下图设置,其中Length Scale决定了辅助线的长度,可以按个人喜好设置。
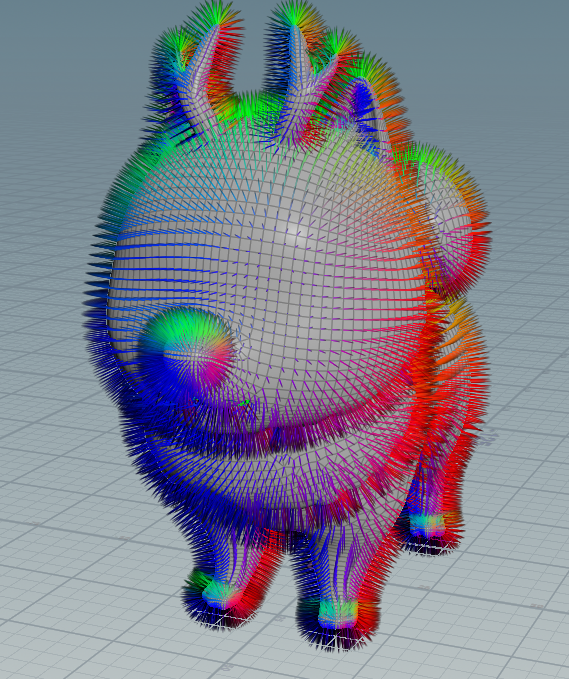
The effect after setting is as follows:
设置完效果如下:
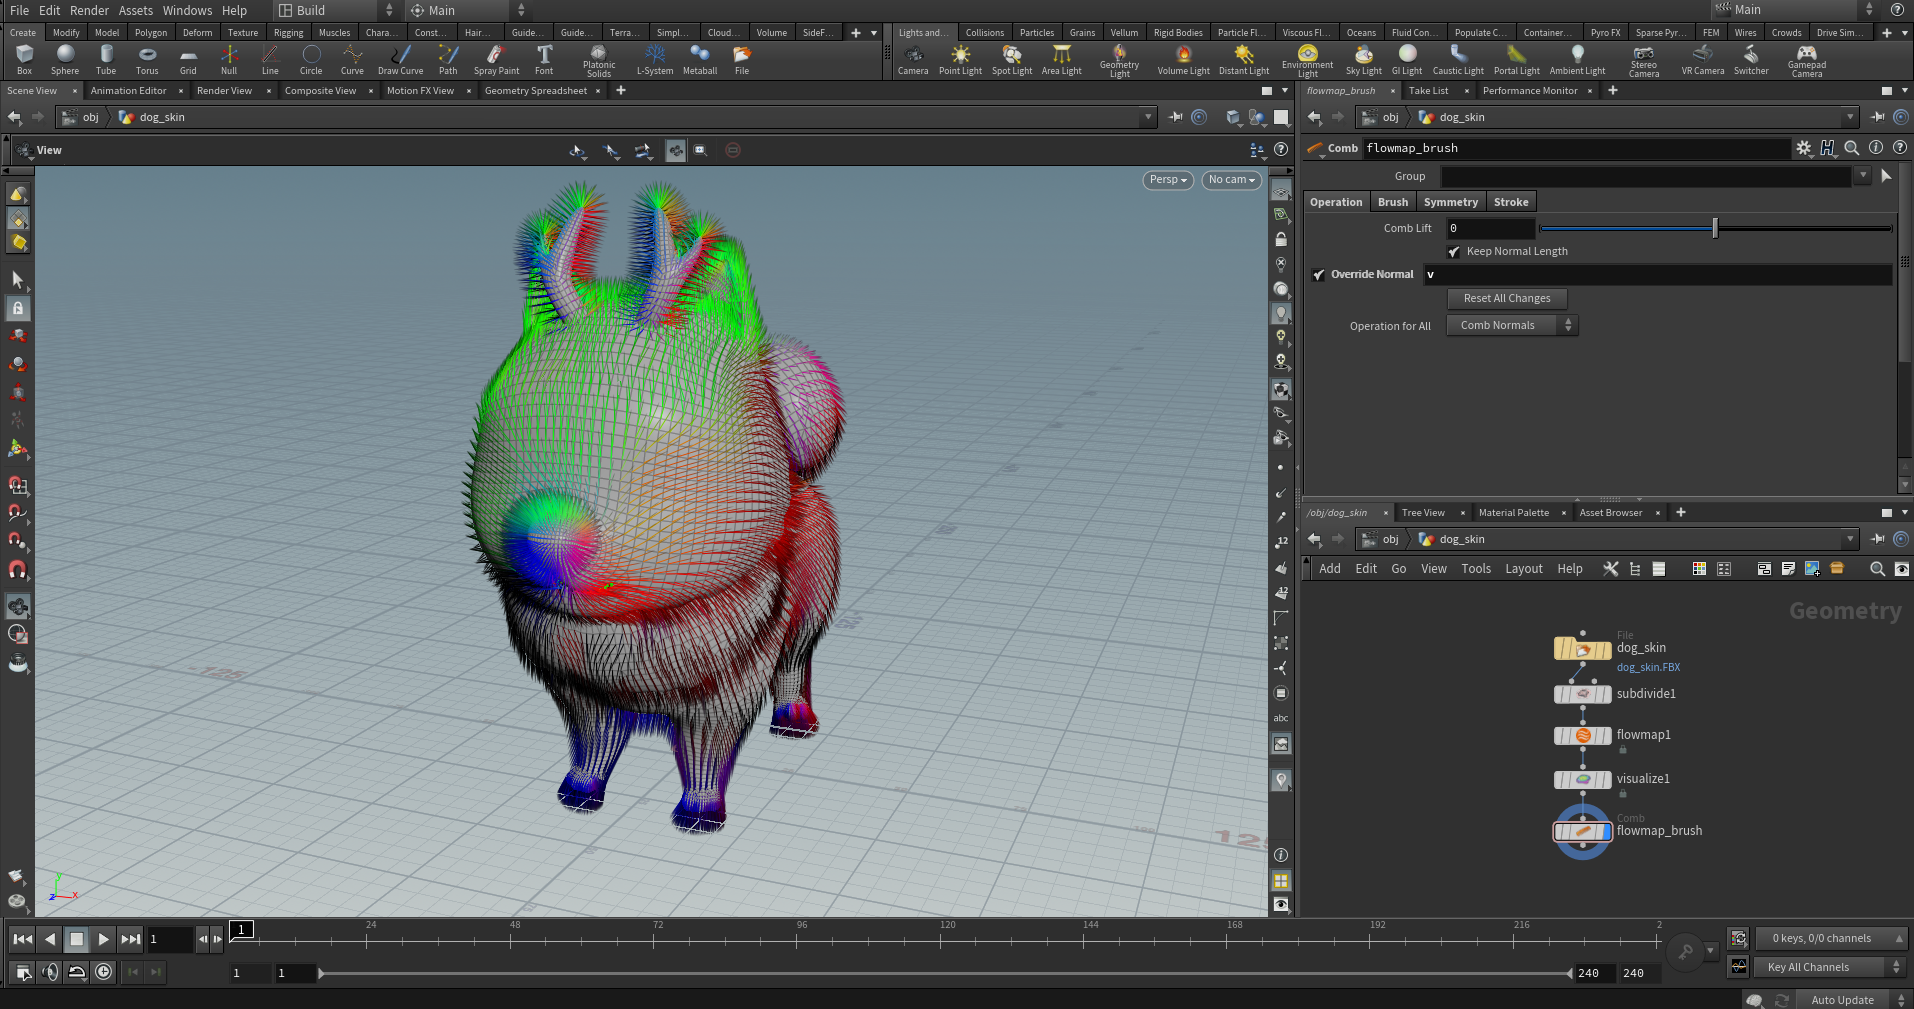
Next, we can link a flowmap brush node, in order to paint the “fur” directions on the surface of the model.
Before painting, you need to click on “Reset All Changes“ button once, otherwise the painting result may be influenced by the previous subdivide node.
接下来连接flowmap brush node,即可以在模型表面对“毛发”方向进行绘制。
绘制之前需要点击一次Reset All Changes,否则之前的subdivide node可能会影响绘制。
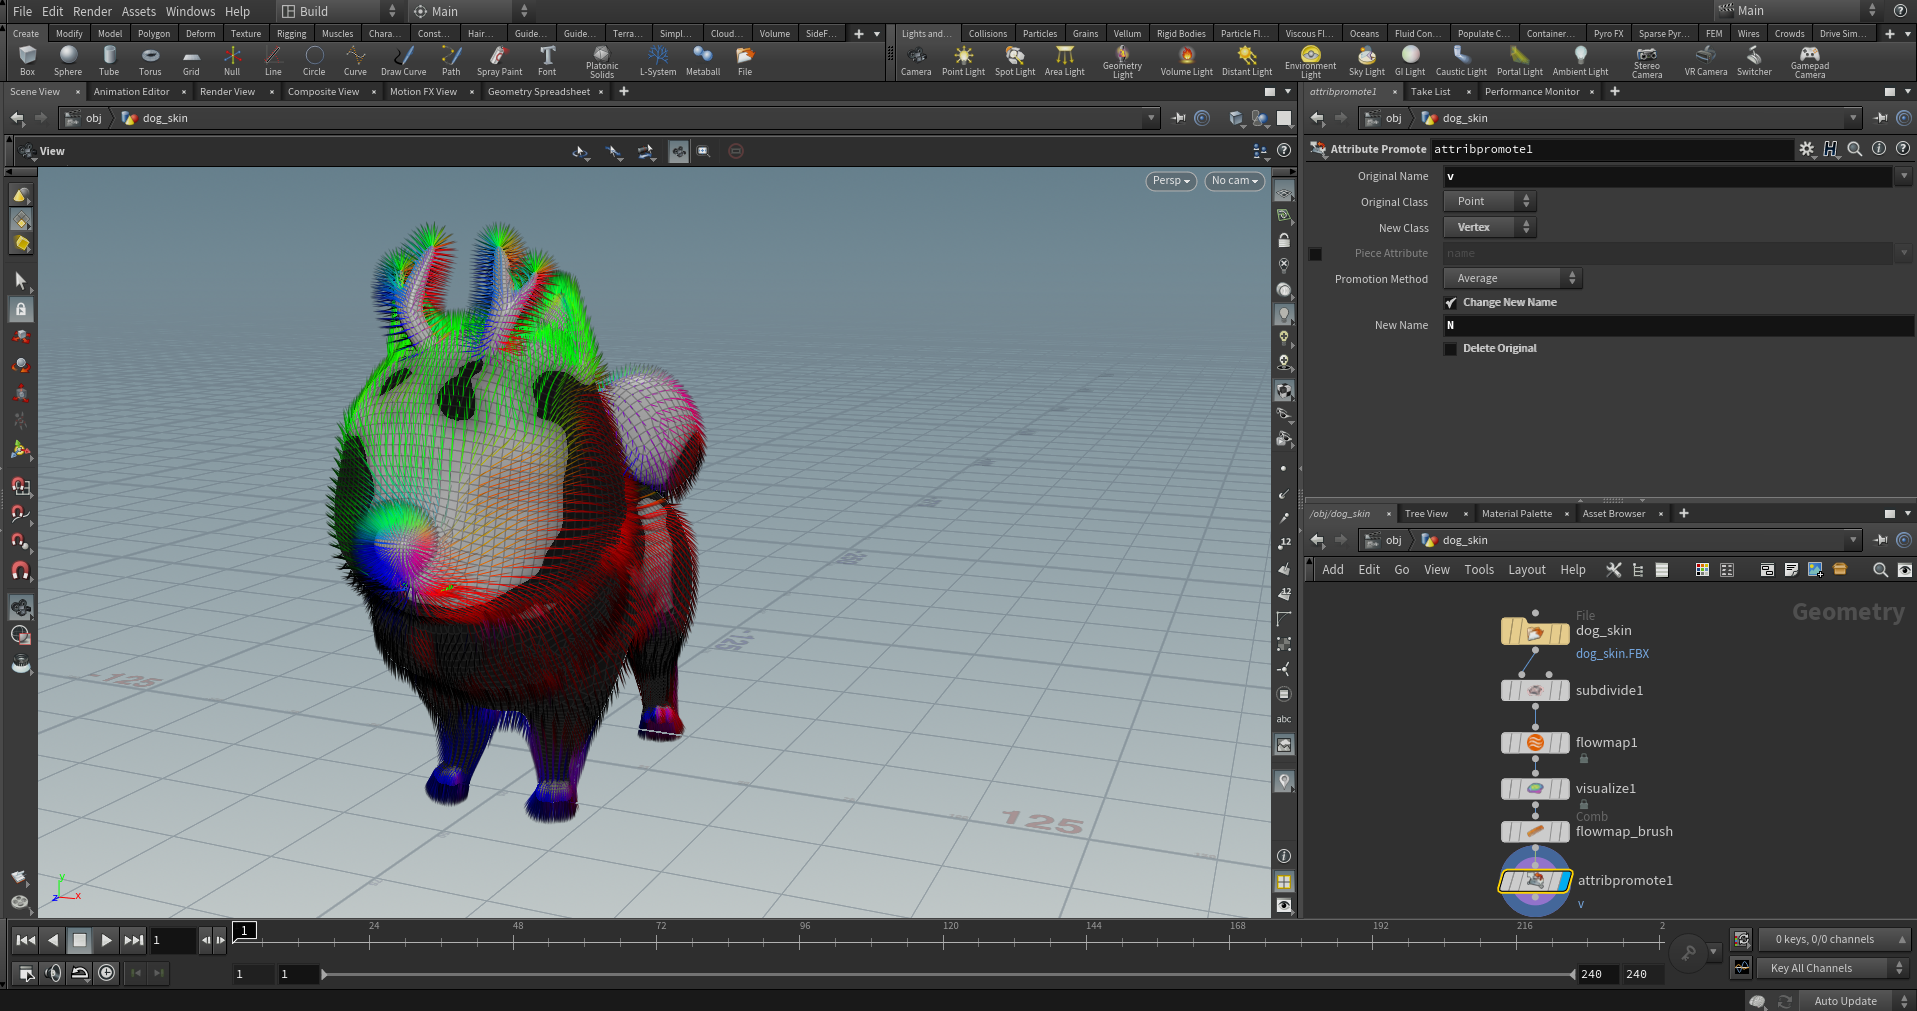
Link a attribute promote node, and set it as follows. The node use the direction vectors v on Point to override the normal vectors N on Vertex, so we can get the desired Flowmap in the next step by simply baking the Normal Map.
连接attribute promote node,按照下图设置。该节点使用Point上保存的方向向量v覆盖Vertex上的法线向量N,于是我们在下一步只要烘焙Normal Map,即可得到所需的Flowmap。
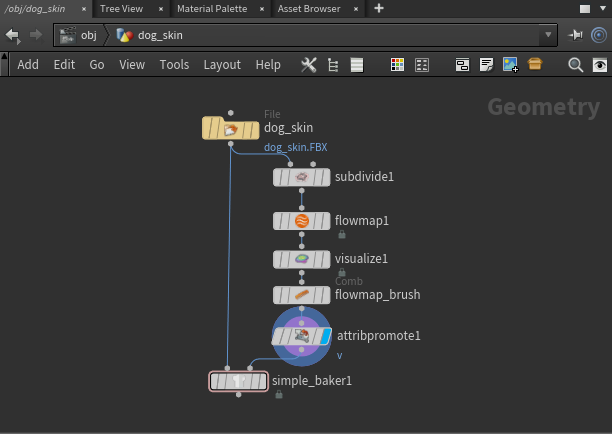
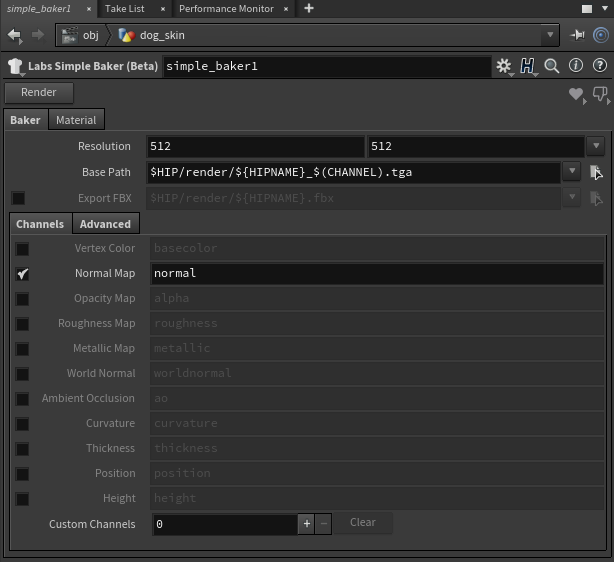
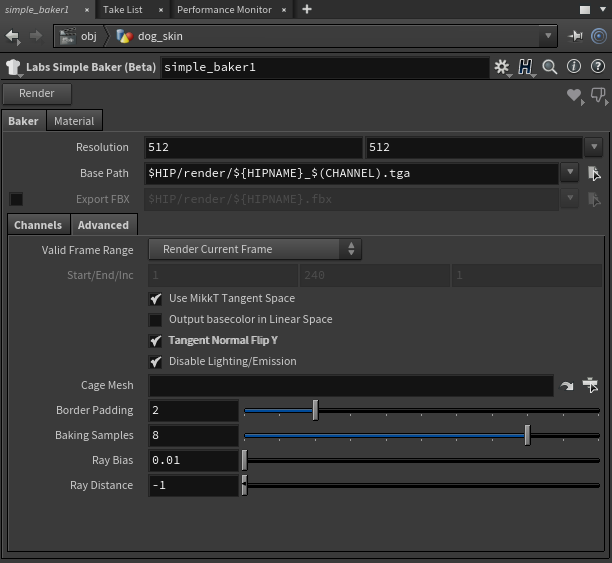
Link the simple baker node finally, and set it as shown below, where “Base Path” is the final output path of the flowmap file.
Note that the “Tangent Normal Flip Y“ checkbox in “Advanced“ tab needs to be checked to invert the green channel in the flowmap we are going to generate, as it needs to be adapted to the UV coordinate system in Unity.
Meanwhile, we need to keep the “Use MikkT Tangent Space“ checkbox checked to ensure the coherence of tangent space between this baker and Unity.
You can learn more information about MikkT Space at http://www.mikktspace.com/
最后连接simple baker node,按下图设置,其中Base Path为最终文件输出路径。
注意需要在Advanced标签中勾选Tangent Normal Flip Y,反转生成Flowmap的绿色通道以适配Unity中的UV坐标系。
同时保持Use MikkT Tangent Space勾选,保证输出的Flowmap使用与Unity相同的Tangent Space。
关于MikkT Space可以参考:http://www.mikktspace.com/
Hooray! Everything’s done. Click on the “Render“ button and check your flowmap file in the output path.
最后点击Render,即可完成Flowmap的输出。
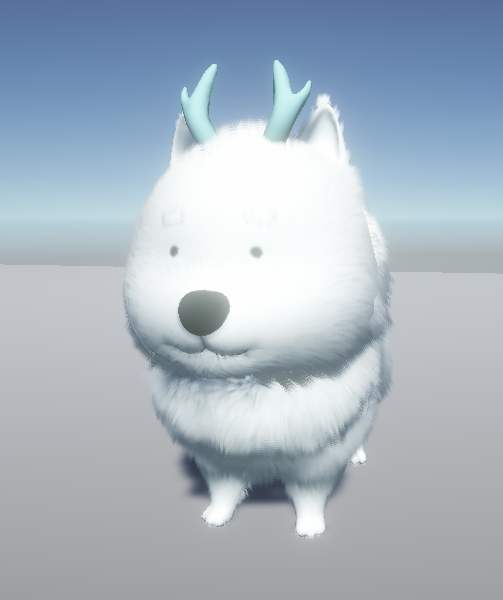
来看一下应用Flowmap后狗狗的毛发效果,目前还在不断优化中,欢迎交流!